How to use the JSON validator
This page shows the most common way how to validate JSON data in the JSONBuddy editor. Usually, this is done by assigning a single root schema to the JSON instance document. This page does not cover how to use the JSON Schema debugger, the streaming validator or the JSON validator as command-line tool (CLI).
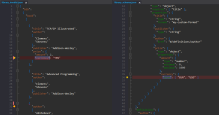
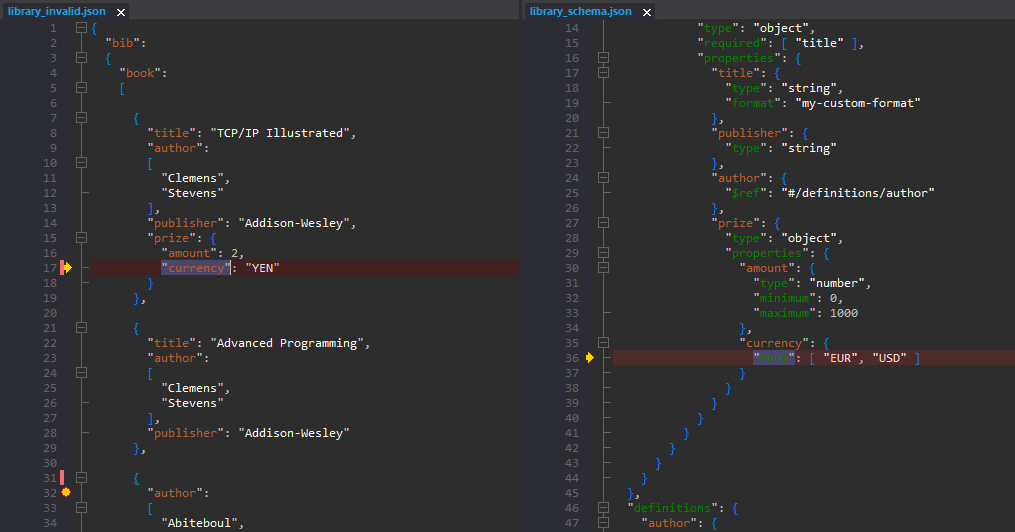
Once a JSON Schema is assigned to a JSON document, JSONBuddy is also validating the current JSON text in the background. Any errors are indicated directly in the text editor window as inline markers. Afterward, running an explicit validation (F11) is often no longer necessary to verify JSON content.
1. Open the JSON document and assign a schema to verify JSON
Before the JSON validator can be used in the editor to check for valid JSON data, a JSON Schema must be assigned to the instance. Set the schema at the "JSON schema" field on the "Quick Associations" window of JSONBuddy. The assignment is saved and restored for the active document.
- Use the "File | Open..." command or double-click the JSON document in the built-in File Explorer.
- Assign the schema to the JSON instance at the "Quick Associations" pane.
- The editor will remember the assigned JSON definitions automatically.
- As an advanced option, you can also configure and select a JSON Schema pool here.

2. Optionally modify the JSON data
Use the JSON editor environment if you want to do any modifications to the content before you run the validator to check if the JSON data is valid. Intelligent entry-helpers provide information from the assigned schema.
- JSON specific syntax-coloring for increased readability.
- Context sensitive entry helpers provide schema information.
- Folding and brace highlighting makes it easy to navigate through the JSON structure.
- You can also use the JSON grid editor.

3. Run the JSON validator to find any errors
To run the validator press the F11 key or use the "Validate JSON" command either from the JSON menu or click the toolbar button. This command is only enabled if a JSON schema is assigned to the active document.
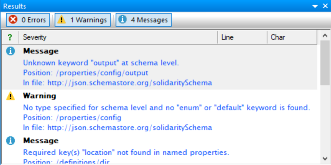
- The JSON validator reports all validation or well-formed errors at once.
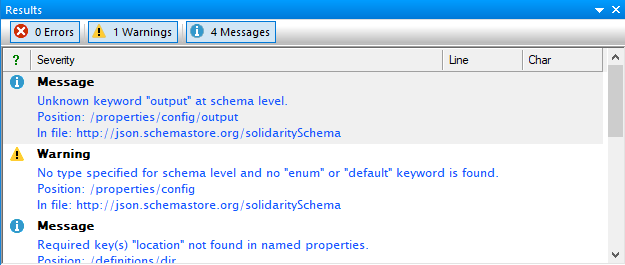
- Errors and warnings are reported in the Results pane of the editor.
- You can copy the complete error report to the clipboard using the "Copy results" command from the context-menu of the Results pane.

4. Fix any validation errors with the built-in JSON editor
After the validation use the editor window to modify the JSON content. If any errors were reported by the JSON validator a click on the results entry selects the related position in the editor window. A detailed error description helps to fix the problem in the JSON content. Press F11 or use the "Validate JSON" command to verify the JSON text again and to see if all of the reported problems are corrected.
- Jump-to-error functionality to quickly fix any parsing or validation errors.
- The validator will report the error position in the JSON data and the violated schema rule.
- The error description also includes the violated schema rule for this entry.
- You can also use the JSON pointer evaluation window to check location paths.
Take a detailed look at some other features of JSONBuddy
JSONBuddy is more than just a JSON editor for Windows ®. Learn more on clicking the images and links below.
JSON validation debugger
See in detail how your JSON data is validated using the JSON Schema validation debugger.
Try here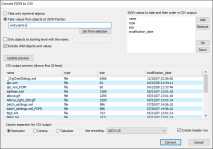
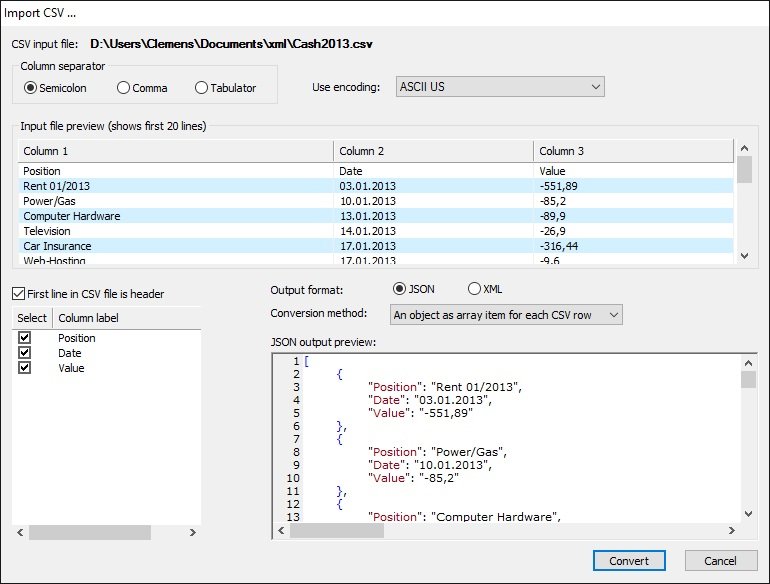
Convert JSON to CSV
XML, JSON, CSV and HTML conversion tool. Import CSV text and get JSON, XML or HTML.
Read More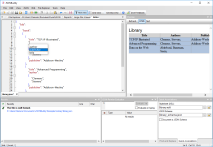
Prettify JSON of any size
Use the streaming JSON formatter to get pretty JSON.
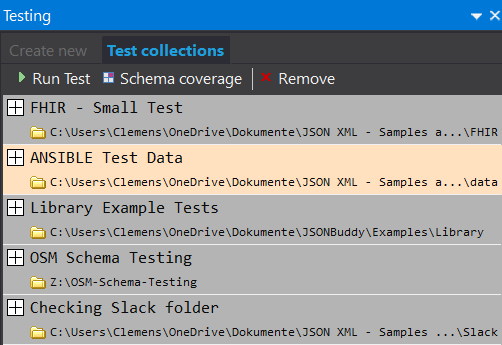
JSON Schema Testing Tool
Verify how a set of data files align with your JSON Schema resources. Easy and automated.
JSON Schema editor
Get a complete JSON Schema designer with extended support for creating and testing JSON schema specifications.
Read More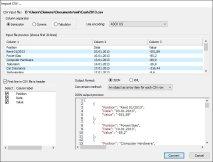
Import CSV text
Import from any CSV text and get structured JSON or XML data in the editor.
Read More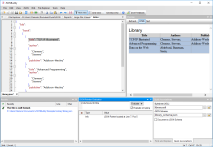
JSON Pointer
JSON editor with built-in JSON pointer engine. Useful on creating JSON Schema documents and for navigation.